 CueCart
 The Cue Editor
Every per-cue setting: name, colour, audio, playback and key.
Building · Updated 2026-07-24
Every pad in CueCart carries its own settings — its name, colour, the file it plays, how it fades, how it behaves when you press it, and which key fires it. The Cue Editor is where you set all of that, one pad at a time.
Opening the editor
Right-click any pad and choose Edit. The Cue Editor opens as a panel with a list of tabs down the left side — Appearance, Cue Pad, Audio, Trim and Triggers. Pick a tab to jump to a group of related settings; the pad's name shows at the top so you always know which cue you're editing.
Edits are staged as you make them — nothing changes on the live pad until you Save, and Cancel discards everything. See How your changes are saved below.
Appearance
The Appearance tab covers a cue's identity — what it's called and how it looks on the grid.
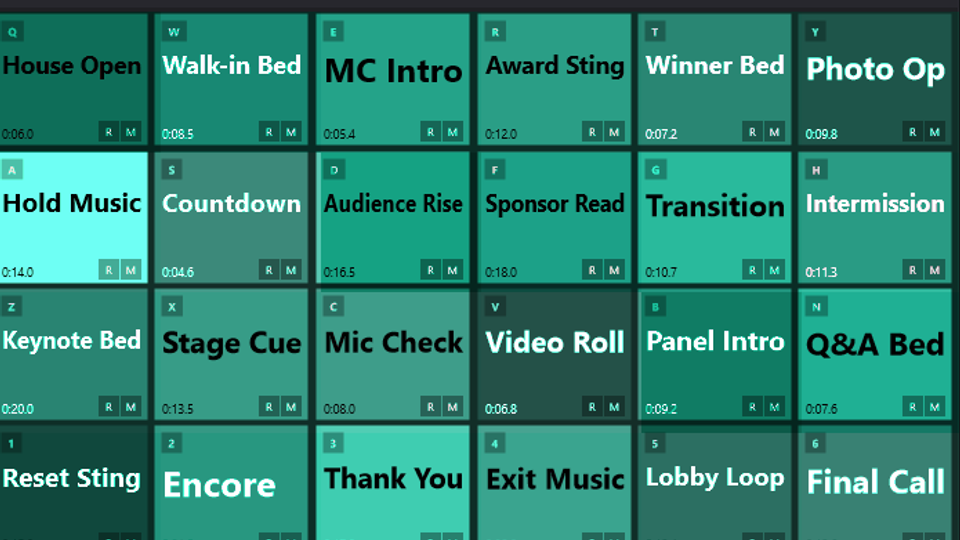 Appearance edits are reflected directly on the pad face.
- Name — the label shown on the pad. A live preview updates as you type, so you can see exactly how the title will sit on the pad.
- Font Size — nudge the name larger or smaller to fit long titles or to make a key cue stand out.
- Colour — pick from a 32-colour palette, or open the custom picker for any colour you like. There's also a no-colour swatch that keeps the pad on a neutral background while the title and duration stay readable. Colour is just for your eye — it has no effect on playback.
Cue Pad
The Cue Pad tab is where you decide how the cue plays.
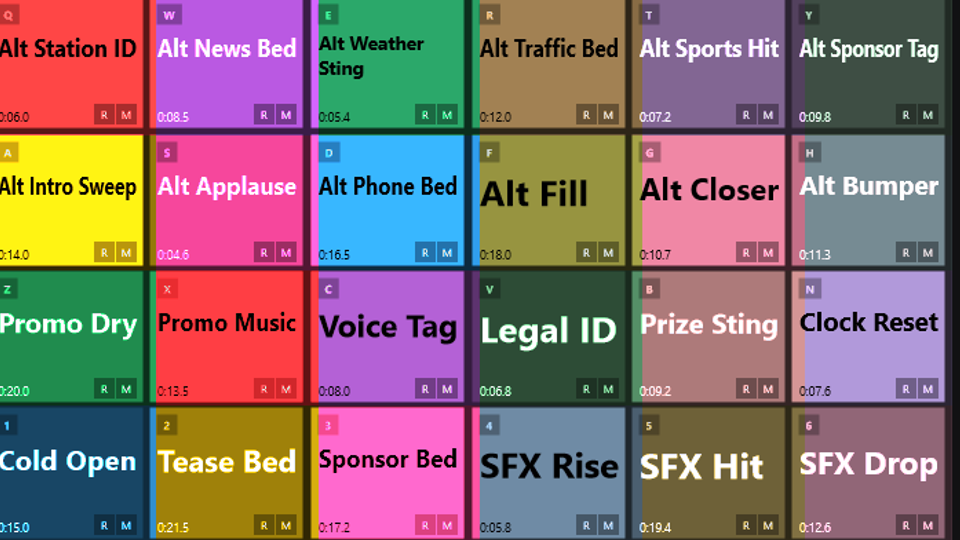 Pad-face badges keep playback behaviour readable on the wall.
On this tab you set three things:
- Play Mode — how a press behaves. Restart fires from the top each time you press; Piano plays only while you hold the key and stops on release; Toggle starts on the first press and stops on the next.
- Behaviour — Normal plays once and stops at the end; Looped repeats until you stop it.
- Concurrency — Multi Pad lets this cue play alongside others; One at a Time stops other playing pads when this one fires.
A line at the bottom of the tab always tells you the effective play mode, behaviour and concurrency, and where each value is coming from — the cue, its bank or the Set. For the full picture of how inheritance and exclusive groups work, see play modes & behaviour.
Audio
The Audio tab controls level, loudness and where the cue goes.
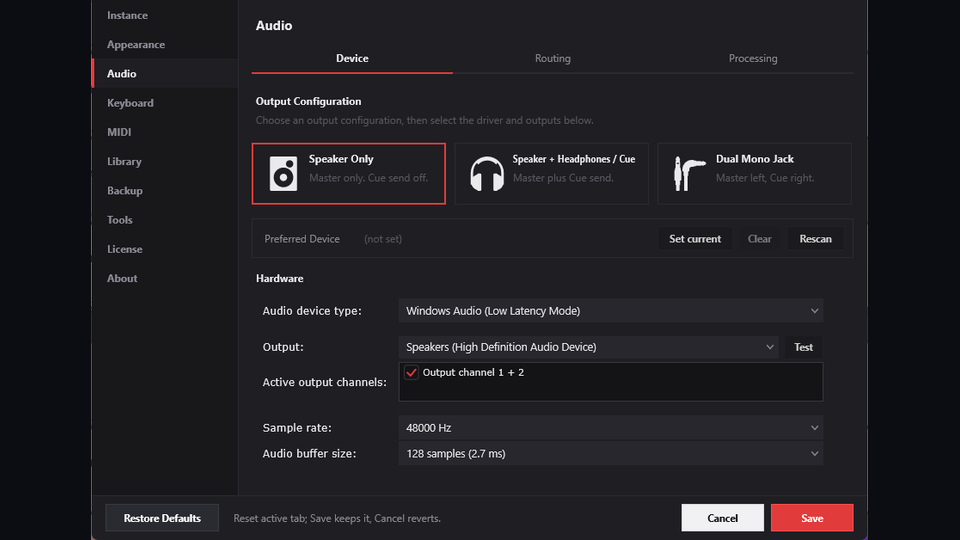 Audio setup and per-cue routing share the same output and bus vocabulary.
- Audio File — the path of the file this cue plays, shown for reference.
- Volume — a per-cue gain in decibels, so you can balance a loud sting against a quiet bed without touching the files.
- Normalisation — on by default. CueCart nudges the cue toward a consistent loudness target of about -18 dB RMS so cues from different sources sit at a similar level. Turn it off for a cue you want to play exactly as recorded.
- Audio Output — by default a cue inherits its routing from its bank. Switch to an override to send this cue to a specific output instead, and toggle cue to headphones to also hear it on your headphone output. The tab shows whether the cue is Inherited from Bank or running a Cue override at a glance.
For setting up your output device and headphone cue bus, see Audio setup.
Trim
The Trim tab is where you shape the audio itself, with a working waveform at the centre of the tab.
- Waveform — the cue's audio is drawn as a waveform with draggable trim handles: grab either flag and slide it to set the in and out points right on the picture. Zoom In, Zoom Out and Fit let you work in close on a tight edit or pull back to see the whole clip, and Play / Restart preview the trimmed region live so you can hear the result before you save.
- Trim Start and Trim End — set the same in and out points numerically (in milliseconds) when you want precision, trimming dead air or an unwanted tail. The sliders and the waveform handles stay in sync. Auto Trim finds and removes leading and trailing silence for you, and toggling it again clears the trim.
- Fade In and Fade Out — ease the cue in and out over a number of milliseconds rather than cutting hard.
Triggers
The Triggers tab is where you wire a cue to your hands and your gear.
- Hotkey Label — type a short label (one or two characters, such as
QorF) and it appears on the pad, so performers know at a glance which key fires which cue. - MIDI note — bind a MIDI note so a pad controller or keyboard fires the cue. Hit Learn and play the note you want; the bound note then shows on the pad. See MIDI & keyboard control.
- Exclusive Group — None or one of eight groups, which works hand-in-hand with concurrency. See play modes & behaviour.
Stream Deck, OSC and GPIO triggers arrive in a future wave; today the keyboard label and the MIDI note are the trigger surfaces this tab covers.
How your changes are saved
The Cue Editor stages your edits rather than applying them live. Make as many changes across the tabs as you like, then:
- Save writes everything to the pad at once.
- Cancel (or closing the panel) discards every change.
- Clear Pad stages the cue to be emptied — useful when you want to free a pad — and only takes effect when you Save.
If the Set is open read-only — for example a second instance is playing back a Set another machine owns — the editor stays open for inspection but Save is hidden, with a short note explaining why. See Multi-instance for how read-only sessions work.
Where to next
- Play modes & behaviour — inheritance, exclusive groups and concurrency in depth.
- Cue pads — assigning audio and arranging your grid.
- Triggering & live — keys and firing cues on the night.